
Install EvalVid NS2
Step to Step Procedure to Install EvalVid NS2 screenshotsSteps to Install EvalVid in NS2
Install EvalVid step1: First of all install ns2 into your system. So check your system ns command in terminal.

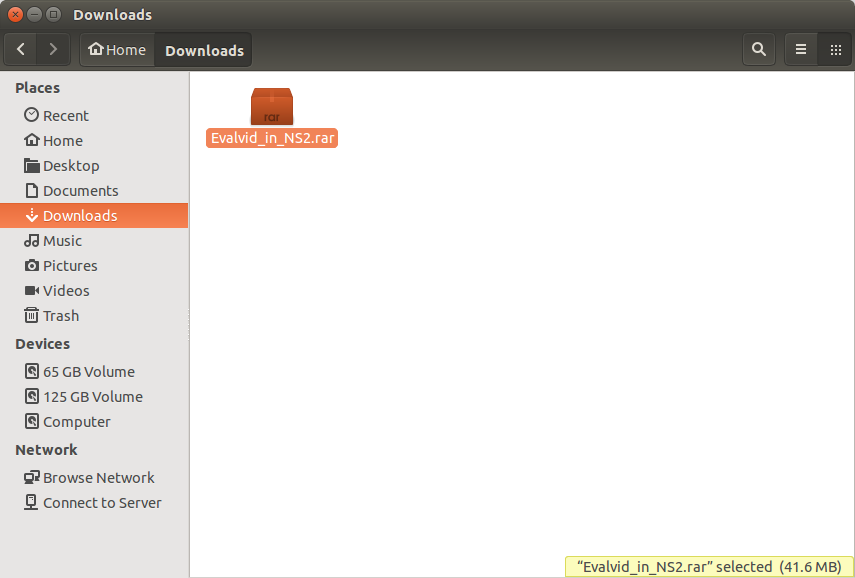
Install EvalVid step 2: next goto download evalvid-ns2 file help the link is: http://csie.nqu.edu.tw/smallko/ns2_old/Evalvid_in_NS2.htm

Install Evalvid NS2 step 3: download finish Extract the file in “/home/ns2/ns-allinone-2.35/ns-2.35”
Install EvalVid NS2 step 4: copy the agent.cc,agent.h,packet.h paste/replace into home/ns2/Desktop/ns-allinone-2.35/ns-2.35


Install EvalVid NS2 step 5: next create the myudp folder in “/ns2.35 ” after paste the evalid udp files


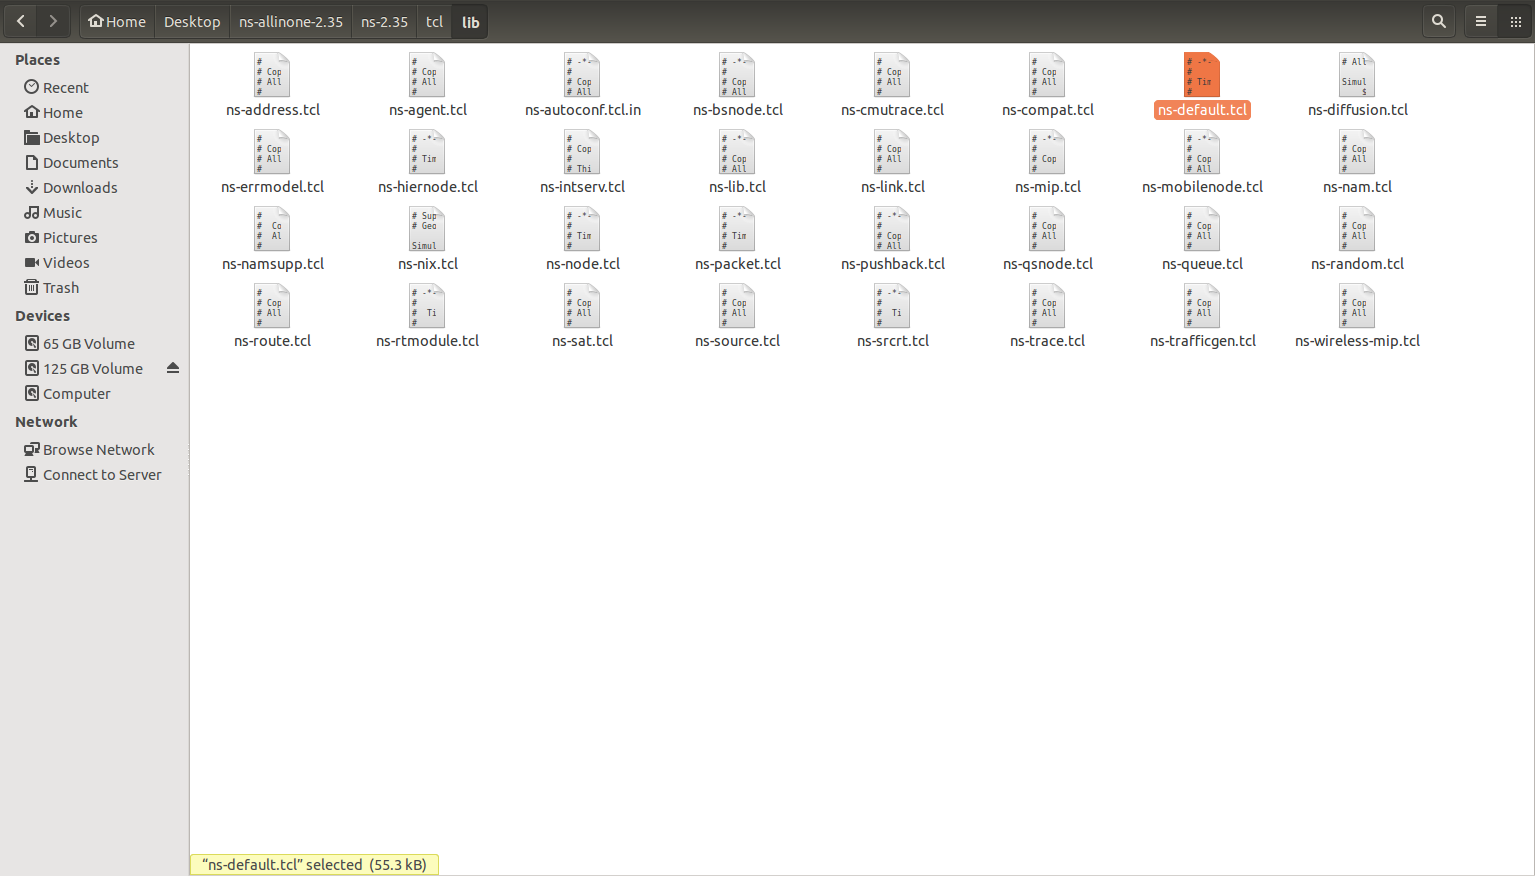
Install EvalVid NS2 step 6: Goto tcl library to add this code “tcl/lib/ns-default.tcl” into
“Agent/ myudp set packetsize_1000
Tracefile set debug_0”

Install EvalVid NS2 step 7: Build and validate to run evalvid

NS2 Projects Video Output
See our Latest Video Output of Ns2 Projects on Various Domain.
Ns2 Projects
Customized NS2 Projects for B.E/B.Tech/M.E/M.Tech/Ms/PhD Scholars.
Ns2 Projects Screen Shots
Ns2 Projects Screen Shots.Regular Update of NS2 Projects Screenshots here!
Journal Support for Research Scholars

Ns2 Projects Work Progress
- MANET – Mobile Ad Hoc Network 95%
- VANET – Vechicle Ad Hoc Netwok 97%
- LTE – Long Term Evolution 78%
- IoT – Internet of Things 90%
- Wireless Sensor Network 89%
- Network Security 89%
- Ns2 Attacks 96%
- Cognitive Radio Network 85%
- Parallel and Distributed Computing 73%
- SDN – Software Defined Networking 95%
- P2P , Video Streaming , Peersim 96%
- IPV4 , IPV6 88%
- 4G Network , 5G Network 80%
- Visual , Underwater Sensor Network 79%
- Multicasting Communication 84%
- Wimax, WiFi 90%
- OFDMA 94%
Our Achievements – Ns2 Projects
