
As an actual fact, the execution of Nam in network simulator 2 is an easy and simple process and our research professionals have highlighted the required processes.
Install Nam for Ns2
Initially, we have to install the Nam tool for network simulator 2 through the execution of below mentioned commands in the terminal window.
sudo dpkg –install nam_1.15-10_i386.deb

Generate Nam File in Ns2
Then, we have to generate the nam trace file in network simulator 2 through changing the Ns2 main file location and implement the Ns2 Tcl file through executing the below mentioned commands to generate the nam trace file as the result.
cd /home/research/NS2_Simulation
sudo ./ns Main_with_nam.tcl

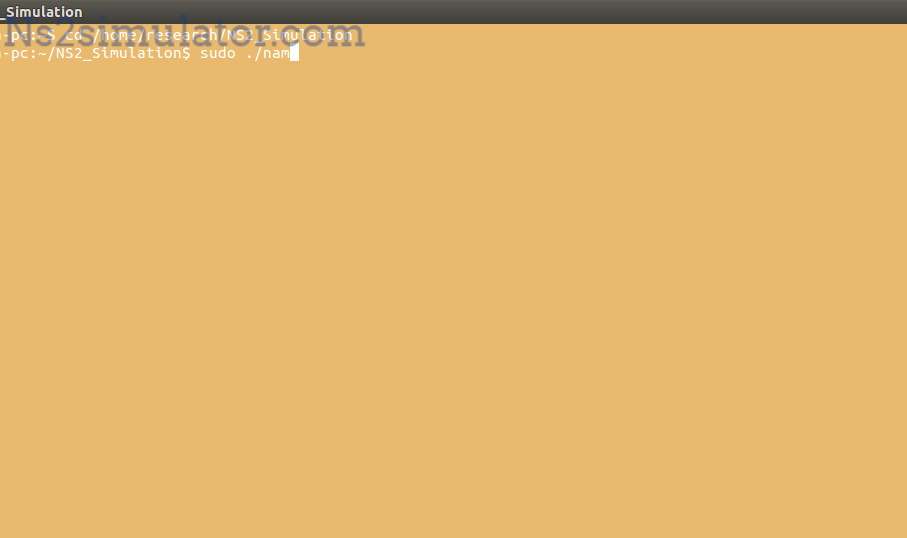
Run Nam File in Ubuntu
To run the Nam file in Ubuntu, we have to execute the commands which have been highlighted in the following.
cd /home/research/NS2_Simulation
sudo ./nam
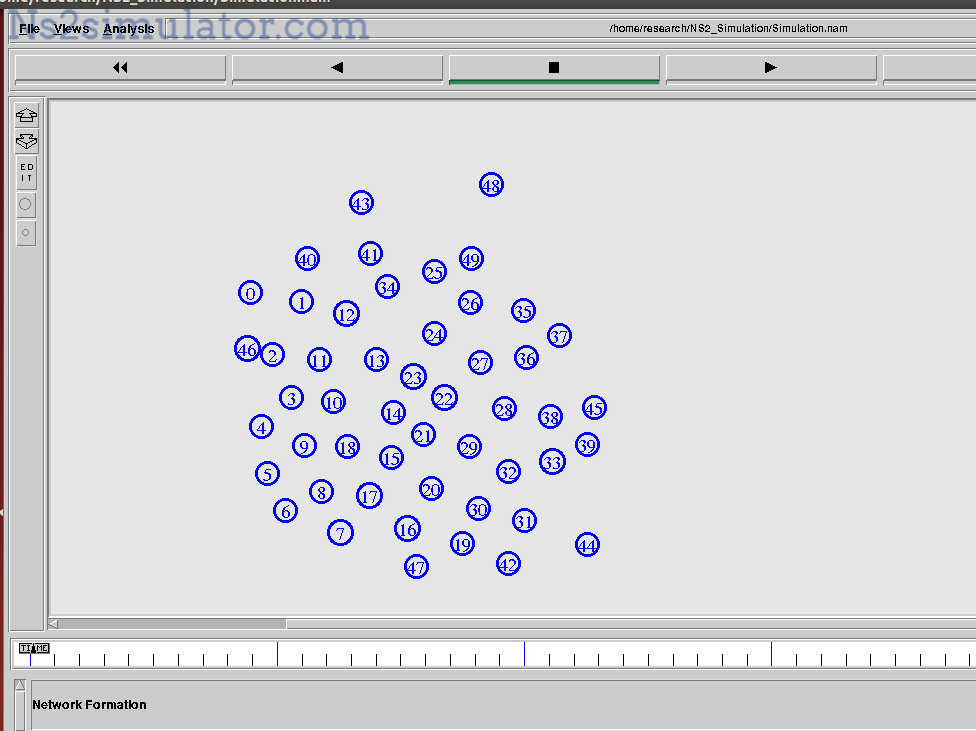
Following that, we have to select the Ns2 simulation auto generated file which is stored with the file extension .nam.

At this point, we have highlighted the result which is acquired for nam based Ns2 simulation in Ubuntu.
Hence, it is better to interact with our folks to get exact details about the implementation of Nam in network simulator 2.